Different configurations of hood vents.
Design:
Placement for the vents was a combination of multiple factors. We used CFD to pick placement on the hood based on low pressure. We avoided the structural sheet metal below the skin of the hood, retaining hood rigidity. The final decision clarifying our choice in location is that it is above the exhaust, one of the hottest components in the engine bay, and right behind the radiator, which aids in extracting that hot air. See below for photos clarifying these points.

Iso Surface on the front half of the vehicle, highlighting areas of low pressure.

Pressure plot, the lighter green/teal color representing the lowest pressure on the hood.

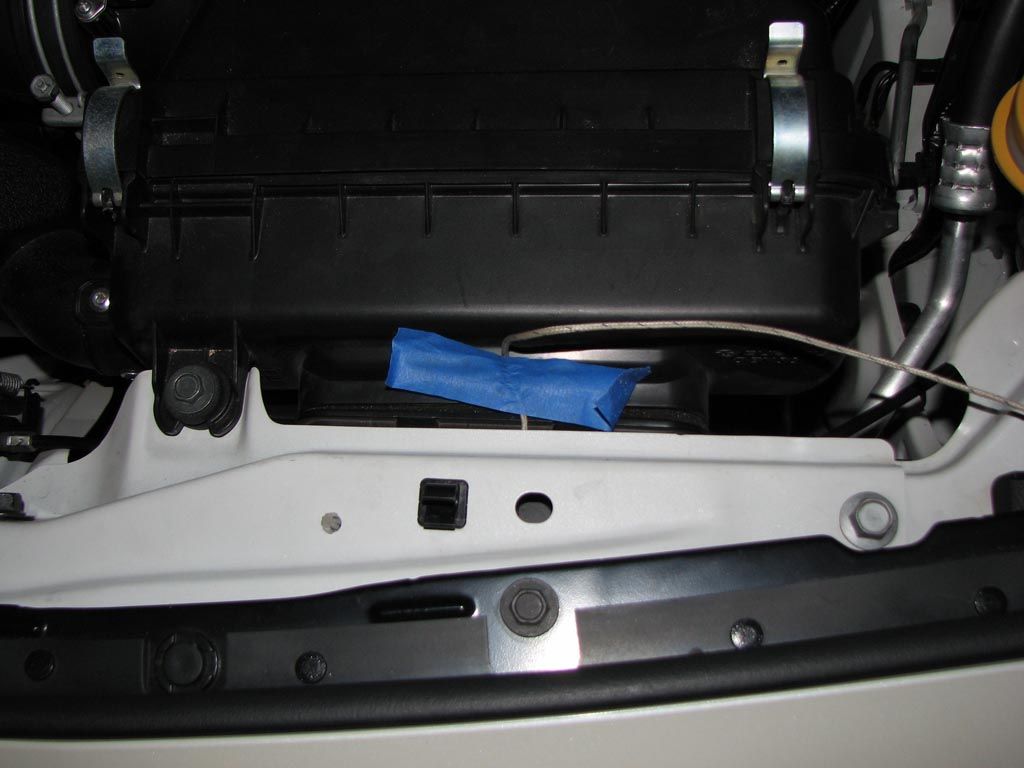
Underhood view showing structural sheet metal intact.
The hood louvers feature a modular design, allowing the end-user to pick from multiple configurations. There are quick removal rain guards for those that want to protect the engine bay from water by collecting and dumping the water further forward, onto the radiator. The wickers are also an
We chose to use 1.6mm thick aluminum for its weight, ability to conform to the hood, and for available coating processes. The wickers are also bent aluminum, designed to be just tall enough to make full use of the vents while keeping drag at a minimum. We found the minimum height for the wickers through tuft testing.
Using tuft testing we were able to visualize the flow and effectiveness of the louvers at low and high speeds. This is how and why we were able to optimize the height of the wickers.
Thermocouple Data:
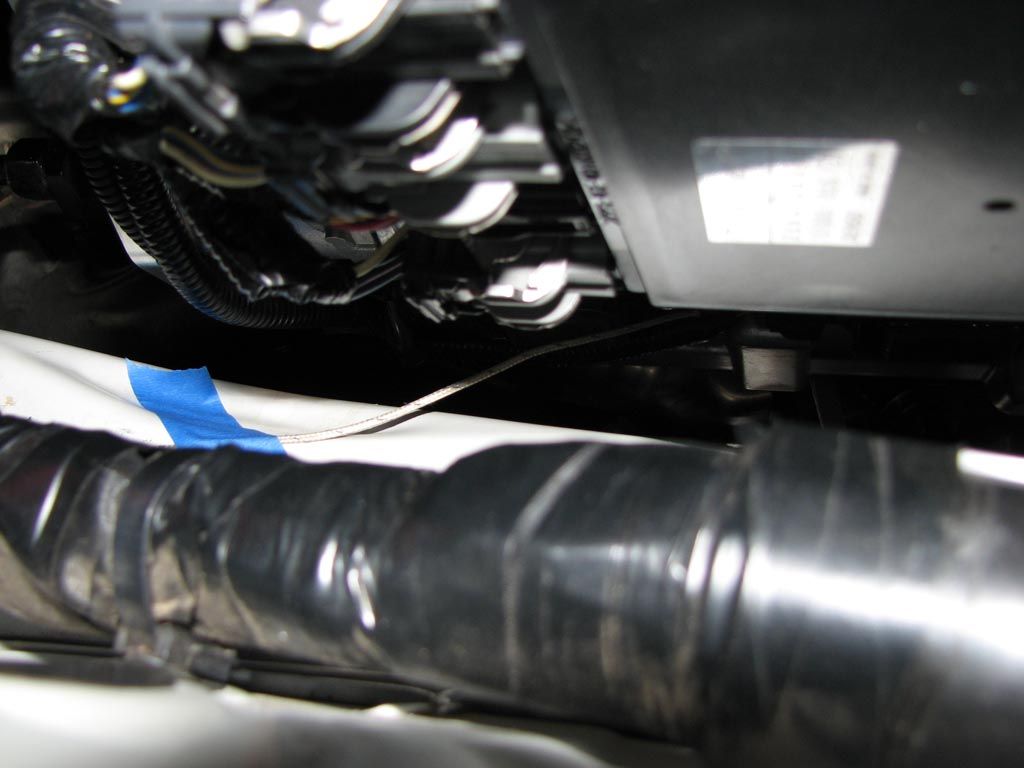
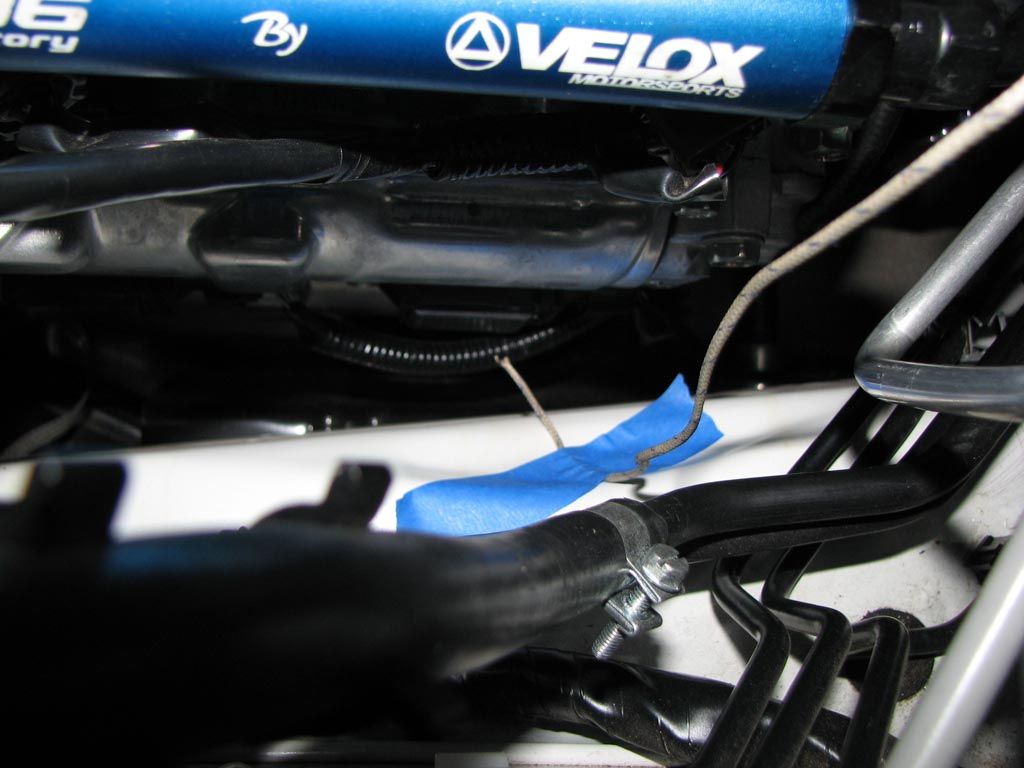
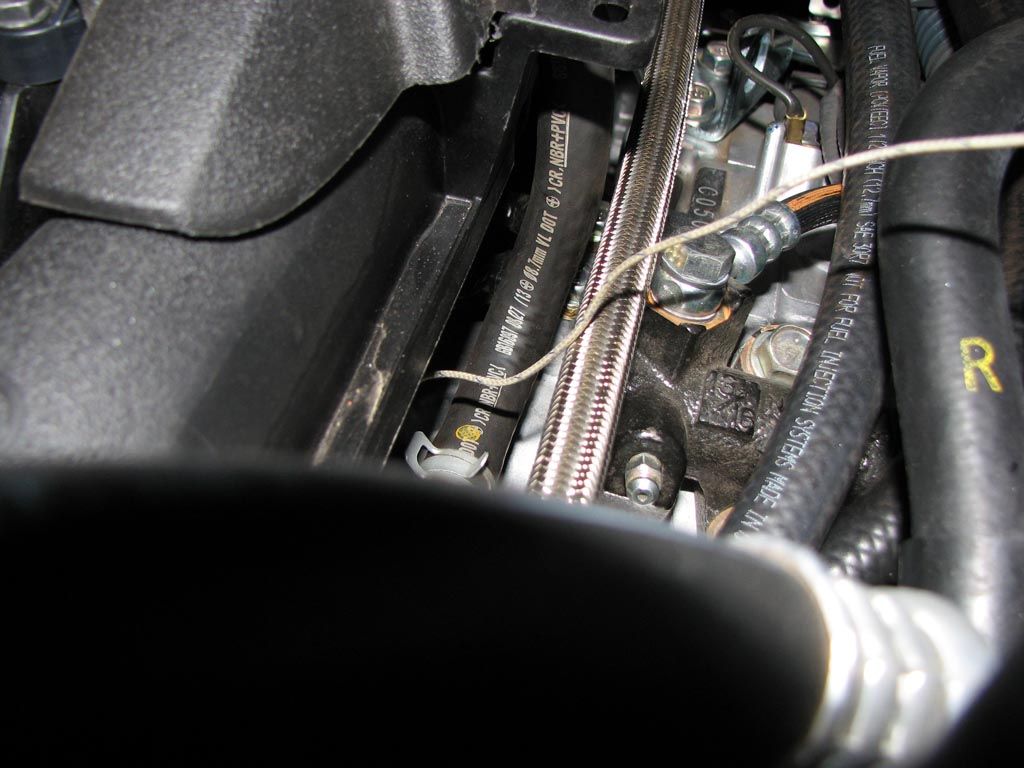
Using thermocouples and data logging, we were able to test two conditions with the OEM hood and then with the louvered hood. The two tests were a heat soaked idle condition and race simulated condition. We tested multiple locations through the engine bay, the passenger side coils, the driver side coils, under the intake manifold, and at the airbox above the radiator. Tests were conducted as soon as possible between the two scenarios, ambient temperatures between tests were negligible (87-90 deg. F).


The idle test was time-consuming but simple. From a cold start, we started the vehicle and let temperatures equalize at idle. This took roughly 45 minutes to an hour. We then took the highest temperature with the radiator fans on and the radiator fans off, as they cycled, as that affected readings considerably. If we had to open the hood, we would let the temperatures equalize under the hood yet again, which took approximately 20 minutes. The results are below.

Due to time and funds, we were unable to test these on the track. However, we came up with a simulation that was held constant between tests to accurately depict how these perform at speed under load. We found a one-mile spot of road that has little traffic and a nice pull off. We then would accelerate to 60 MPH quickly, staying in 2nd gear. This is very near redline in 2ndgear, then applied the same amount of clicks on the e-brake to induce a load. For those good at math, that is over a minute, high RPM, moderate load condition. We did this two times, and then took measurements for each test. The results are below.

Conclusion:
We have heard from multiple track day enthusiasts that they are killing the ignition coils. These malfunctioning coils are thought to be caused by overheating. It appears that these hood vents dramatically reduce underhood temps and the air around the ignition coils as well.
These louvers will also reduce pressure build-up in the engine bay, also known as hood flutter. The side benefit would be a slight increase in front-end downforce, something we cannot simulate in CFD currently, nor do we think it major enough to make a large note of it.
It is highly recommended to use wickers to increase evacuation. Rain guards will dramatically reduce the effectiveness of the louvers.
ZN6 Modular Hood Vent Kit