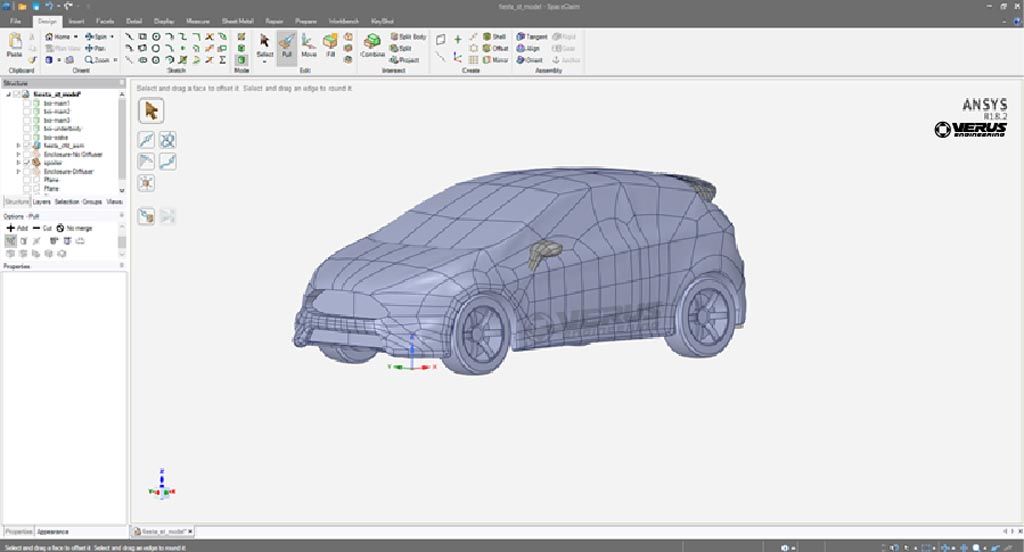
Figure 1: Car geometry
1. Go to the Prepare Tab
2. Click on Enclosure

3. Left mouse button click and drag over entire geometry
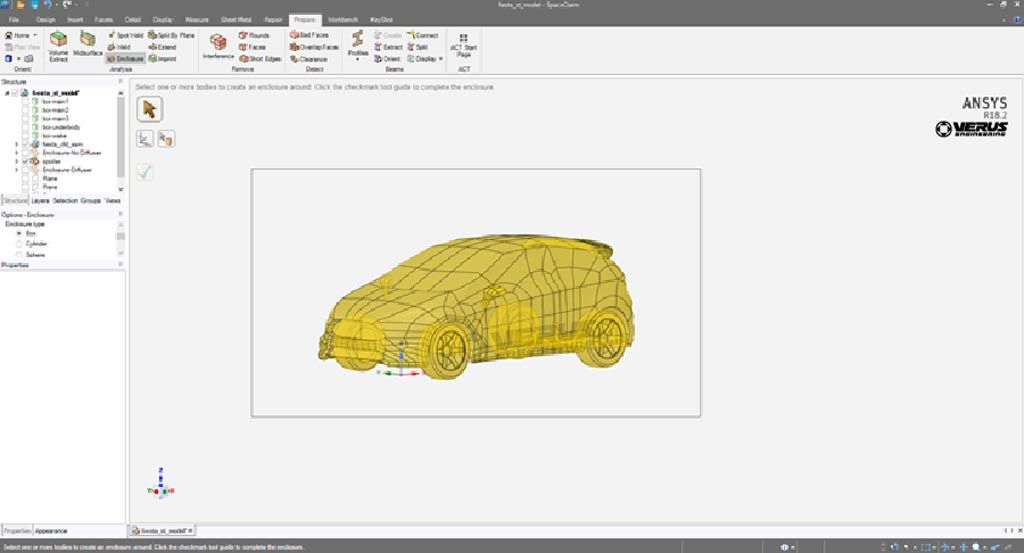
4. Click the green
5. Hide the car geometry so all you are left with is the enclosure (fluid domain)
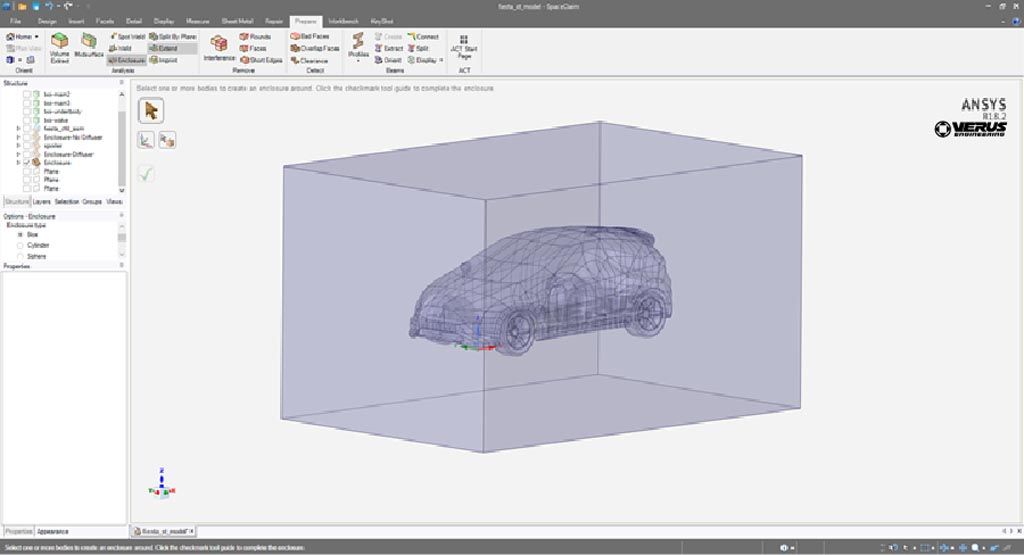
6. Make the ground at the tires. Go to the Design tab and click the Plane in the Create section. Then click the origin in the model. This will create an X, Y, and Z Plane.
7. In the Design tab section, go to the intersect section and click split body. Now click the enclosure. After clicking the enclosure, ensure it is on the saw and
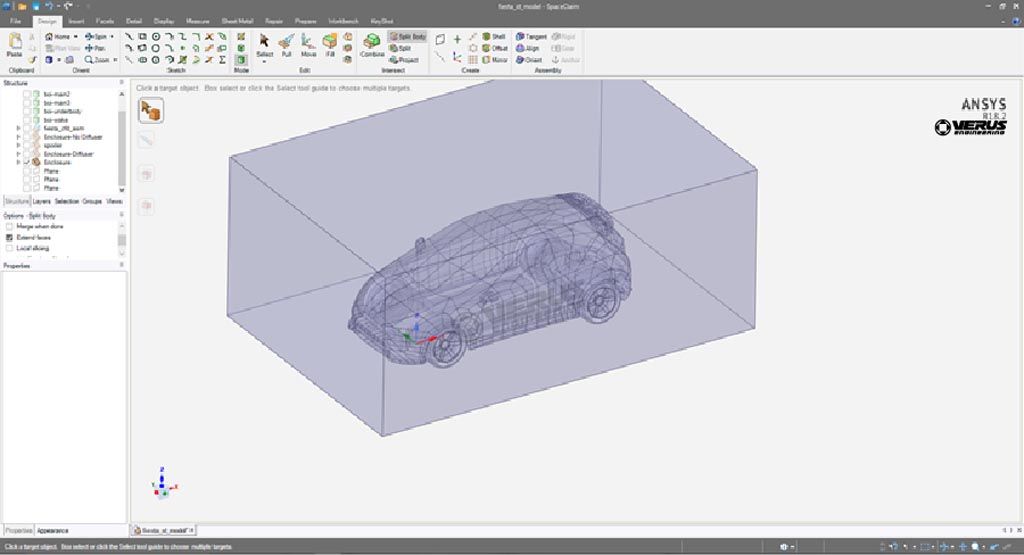
8. Now do the same with the right plane to cut the car/domain in half. We are solving the car using symmetry since no yaw is present.
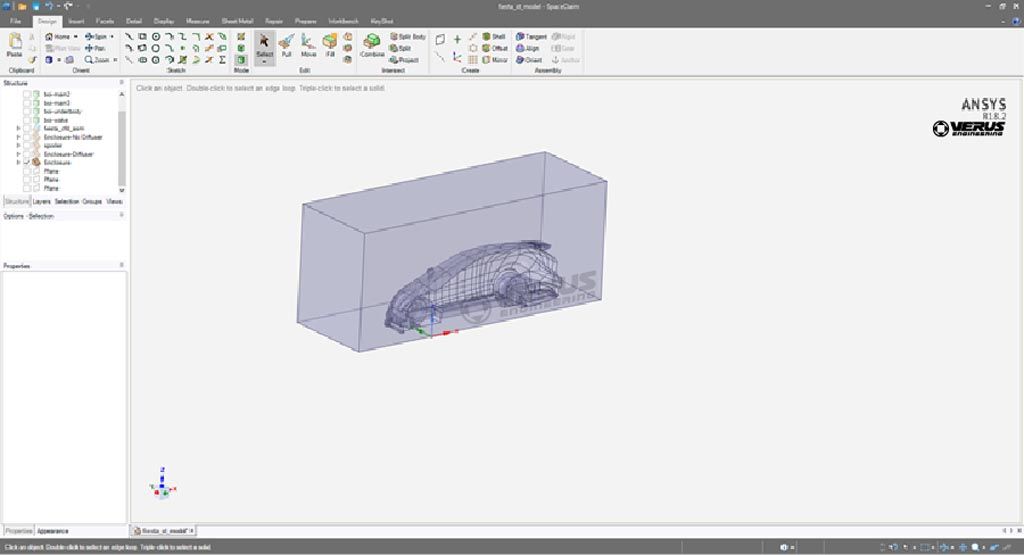
Now you can use the pull tool and extend your fluid domain as needed. Then you will have a proper fluid domain using SpaceClaim.
Thanks for reading over our how to and let us know if you have any questions!
Creating a Fluid Domain in ANSYS Spaceclaim